Our External World - Indian Makeup Beauty Fashion Travel
Showing posts with label sponging nail art. Show all posts

Wednesday, April 27, 2016

Diagonal Gradient Nail Art

 Hi guys! Today I have another nail art post for you all. This time its for a dual challenge.

I had to do a diagonal gradient technique challenge for #tnttech (part of the Those Nails Though group on Facebook) as well as the #tnttwinnails challenge. So since I'm super lazy I decided to combine both the challenges in one nail art.

As part of the Twin Nails Challenge I got paired with Krystal Moore (@queenofnails83 on instagram) She is one of the admins at Those Nails Though and is the one responsible for inspiring me to get back to nail art with her fun challenges!

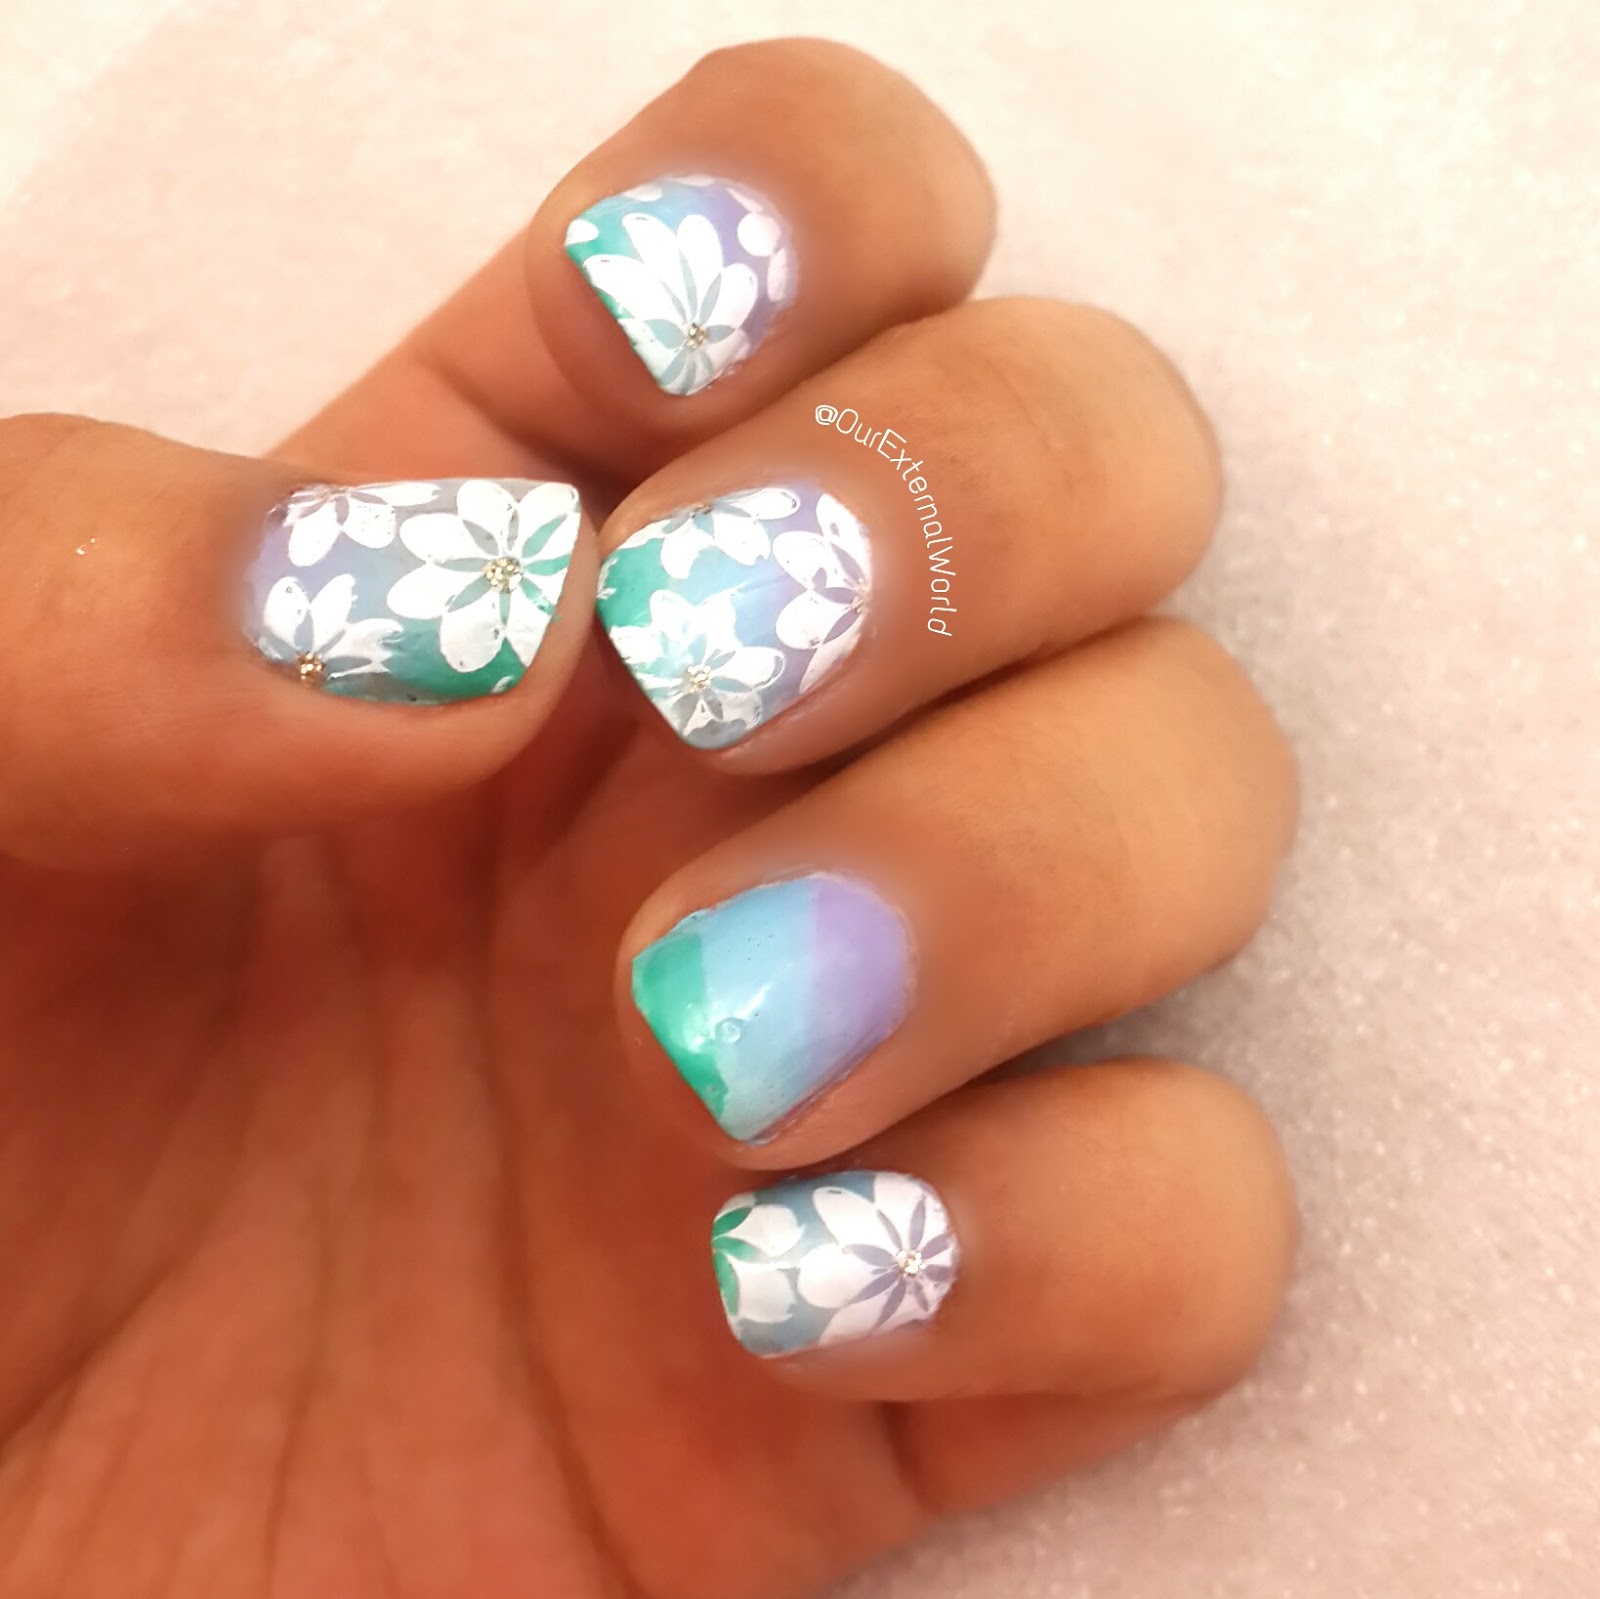
 The technique challenge was to do a diagonal gradient. And the twin nail challenge was to replicate a nail art done by your partner. So here is the nail art that I did this week.
Diagonal Gradient Nail Art, tnttech, tnttwinnails, those nails though, stamping nail art
Diagonal Gradient Nail Art

The base was created using sponging with 3 different polishes. To create a diagonal gradient all you have to do is sponge the nail in a diagonal manner instead of horizontally. I used two color show polishes and one local polish in teal.

Sunday, September 13, 2015

Parrot Polish Ocean Currents (thermal) - Review, Swatches, Nail Art

Parrot Polish drew my attention towards it because of the bright parrot logo. The two lovely people behind the brand Sonja and David, love birds, I've seen their real life parrots and their love reflects in their polishes.

I have two polishes from this brand and today I'm sharing one of these - Ocean Currents.

Ocean Currents is a pretty blue coloured polish which is thermal - yes it changes to a green color in cold water (or was it hot water - jeez I can't remember! It must be green in cold because the temperature here is hot and the polish is blue - so!). The polish is 5-free (formaldehyde, toluene, and dibutyl phthalate free).

Parrot Polish Ocean Currents (thermal) - Review, Swatches, Nail Art, indian nail art blog, indian beauty blog
Parrot Polish Ocean Currents (thermal) - Review, Swatches, Nail Art
Parrot Polish Ocean Currents (thermal) - Review, Swatches, Nail Art, indian nail art blog, indian beauty blog
Parrot Polish Ocean Currents (thermal) - Review, Swatches, Nail Art

The polish is a bit runny and gives an almost jelly like finish due to its texture. I used a sponge to create a gradient effect on my nails and then stamped over it using a silver polish. I think this blue looks perfect with my skin tone. In person I love how blue polish looks on my nails. 

Price: US$ 12

And I hope in the image below you can see the green - the tips of my nails and the accent finger nail. Its always tricky to capture the thermal effect of polish. I know it doesn't last long but I love thermal polishes because of the fun element - now its blue and in winters it will be green - and any time you wash your hands or work with a different temperature - you see it changing right before your eyes! Childish you say - well let's always keep the child in us alive - that is what life is all about isn't it?

Wednesday, February 18, 2015

Peacock Nail Art Using BornPrettyStore Stamping Plate BP04

Hi everyone, today I am sharing a nail art that I did probably a month ago but never got a chance to share. I have always wanted to do nail art on the theme of peacocks and was ecstatic when I got this lovely plate from bornprettystore.com.

The plate is called BP-04 and has the patterns of peacocks and a beautiful dancing girl on it. There are small peacocks, a larger one and then one in XL size with a lovely background. The plate is etched out well and I was able to easily pick up the thinnest lines from the plate.

Peacock Nail Art Using BornPrettyStore Stamping Plate BP04

If you wish to purchase this plate (or other lovely plates from BPS) you can use the code HPG10 to avail 10% off on your purchase.

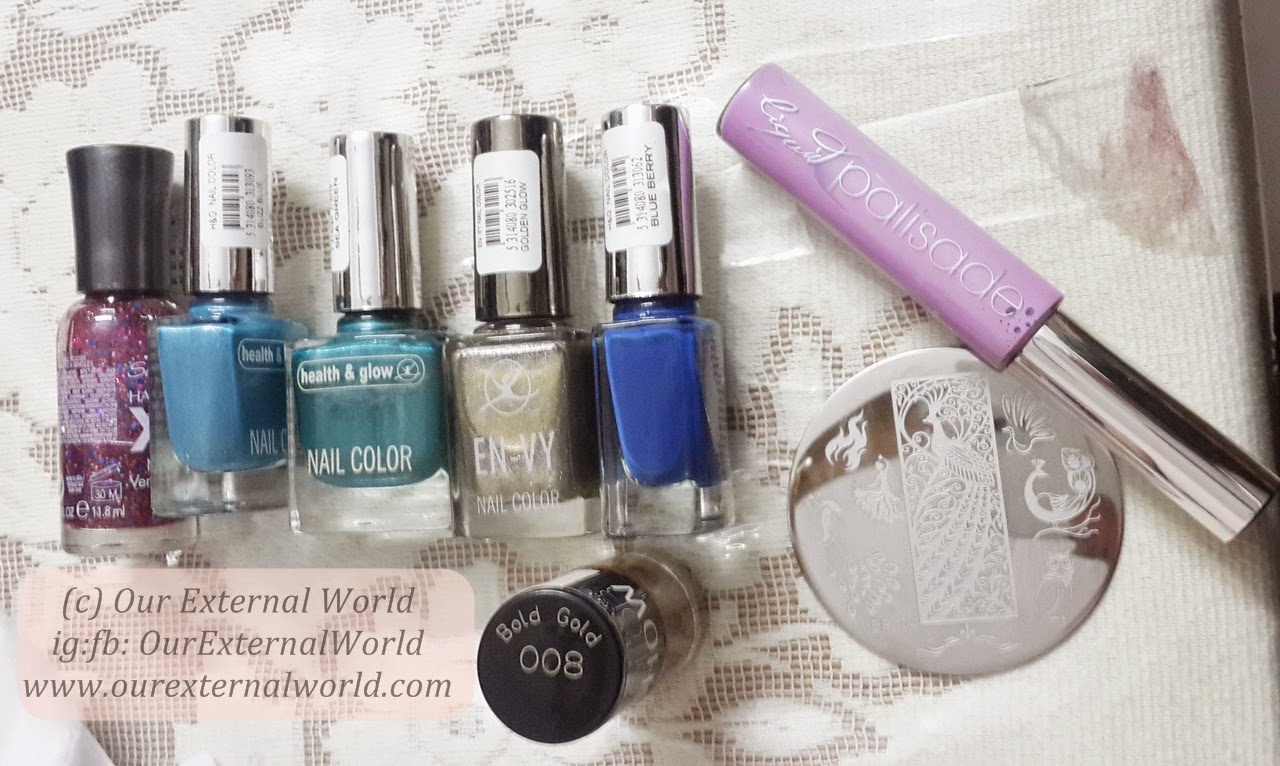
For this particular nail art I used 6 polishes and also tried the liquid palisade. I will review the Liquid Palisade in a separate post.

Peacock Nail Art Using BornPrettyStore Stamping Plate BP04, envy polish, health & glow, liquid palisade
Peacock Nail Art Using BornPrettyStore Stamping Plate BP04

Polishes used for the base - Sally Hansen,  Health & Glow Buzz Blue, Sea Green, and Envy Golden Glow & Blue Berry. I stamped with Maybelline Color Show Bold Gold.

For the base I first sponged the blue polishes along with a hint of the glitter polish. Then I used the XL image to stamp just the background onto all my nails except the thumb and accent finger.

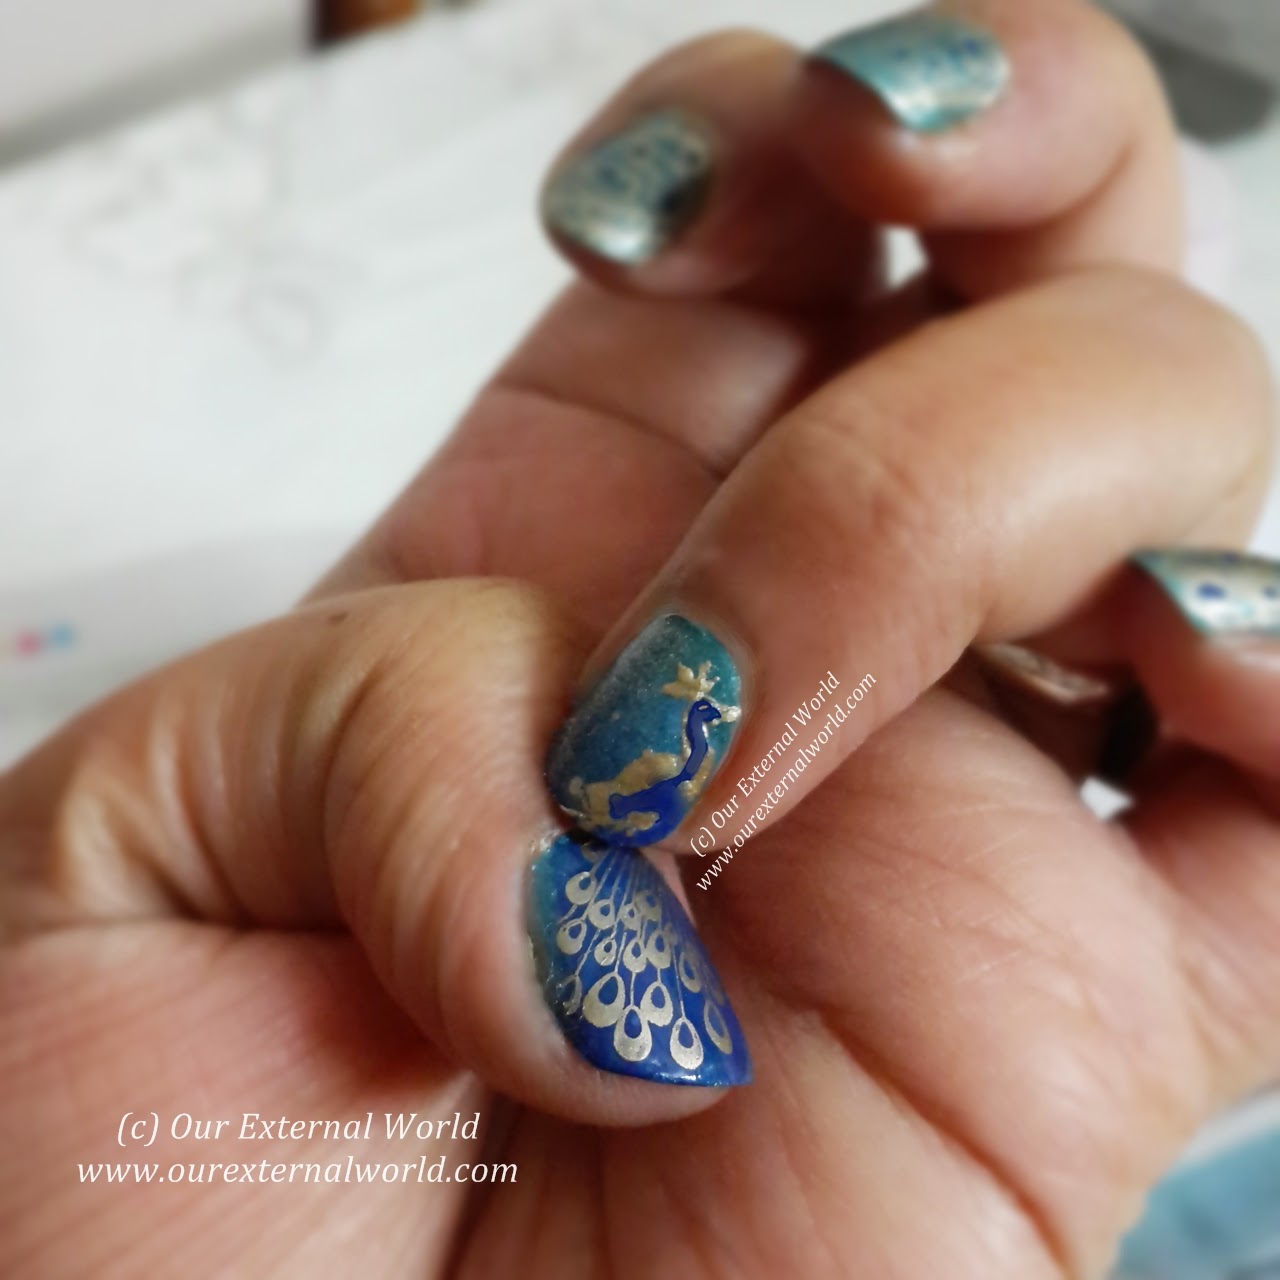
For the accent finger I stamped the large peacock head and its tail I stamped over the thumb. Then using a tooth pick I added dots of blue on the fingers to make the pattern stand out.

Peacock Nail Art Using BornPrettyStore Stamping Plate BP04

I really liked the outcome of this nail art and mixing the blues as the base for sponging made it stand out. If you  notice on the accent finger I have gently sponged a bit of golden on the side of the peacock as well.

Sunday, September 21, 2014

Scaled Gradient Nail Art

For the third challenge of September (in #STNChallenges) the theme is scaled gradient. The concept is to repeat a gradient pattern on your nails. When I read about this theme I thought, wow something nice and simple, I enjoy sponging nail art so this should be fun. Only when I got down to doing this on my tiny nails did I realize it wasn't all that easy!

Scaled Gradient Nail Art

I used Essie Mambo and Sally Hansen So Much Fawn (swatched HERE). The concept of a scaled gradient as I said, is to repeat a gradient pattern on your nails. For this you need to tape off a part of your nail and do sponging (click HERE for details on how to do sponging). Then you let this dry out, cover up the sponged area so that the rest of the nail is now available. And you repeat the sponging on this part of the nail.

Friday, April 18, 2014

Summer Nails - A Day At The Beach

This time for the #stnchallenges the theme for Summer Nail Art is "A Day At The Beach". I have some fond memories of times I've spent at a beach and the ones I cherish the most are the ones from Maldives. The pristine beaches, the gorgeous blue sea, and the calm all around. And so my nail art was an attempt to reminisce those times.

Summer Nails - A Day At The Beach


I used Maybelline Color Show Cool Blue on the entire nail (just did one coat) and then used sponging technique using Cool Blue and Bold Gold (Maybelline Color Show) on all the nails.

HOW TO Summer Nails - A Day At The Beach
Summer Nails - A Day At The Beach
Then I used my MoYou London Stamping Plate Suki Collection 04, picked out random wave pattern type images and stamped using a local white polish mixed with a local deep blue polish. The polishes were mixed on the image itself so that the wave would get a random hint of blue when I swiped off the polish using the scraper. On the accent finger I have actually done dual stamping (two different patterns stamped over one another)

Thursday, April 4, 2013

My Little Pony Rainbow Dash Nail Art Tutorial

Guest post by Nicky 
Nicky loves to do nail art and does an extremely good job of it! She sportingly agreed to do a post for OurExternalWorld where-in she has shared a lovely nail art that reminds me of Rainbow Dash from the My Little Pony collection - one of my childhood favourites! Nicky this is what I have named your nail art.

My Little Pony Rainbox Dash Nail Art

My Little Pony Rainbox Dash Nail Art
To achieve this look you will need 
1) 4 bright nail paints,
2) White nail paint
3) Black nail paint
4) Stamping plates (used here W111 and W117 from Winstonia)
5) Stamper
6) Sponge (makeup sponge works best)
7) Base coat
8) Top coat
9) Transparent shimmery nail paint like fairydust from China Glaze (optional)
My Little Pony Rainbox Dash Nail Art

My Little Pony Rainbox Dash Nail Art

Collect everything before you begin!

First apply the base coat of your choice and let it dry completely. Then take a sponge, here I used a makeup sponge. Regular sponge from kitchen could also be used to do this manicure. But the smoothness in blending colors could be different.

Now apply a base color and I used plain white. After that apply your choice of four bright colors on the sponge, here I have used orange, red, yellow and blue. Depending on your nail size you could use as little as two colors to achieve the same look.

My Little Pony Rainbox Dash Nail Art
Now dab that sponge lightly on a paper towel once and then dab it on your nail and keep dabbing lightly moving in an up and down fashion covering the entire nail. You can repeat this step as many times as you need to. Just make sure each layer is completely dry before sponging again otherwise you will start smudging the bottom layers and ruin the whole thing.

My Little Pony Rainbox Dash Nail Art

After that I added a coat of fairydust from china glaze but this is optional. This just adds some nice soft shimmer to the finished look. Sponging will make the nail little bumpy but applying top coat will smooth out the whole thing and will blend the colors better.

My Little Pony Rainbox Dash Nail Art


After this I cleaned up the cuticles and then stamped the images on the nails..

My Little Pony Rainbox Dash Nail Art


First stamp all the nails with the rainbow pattern using a white nail paint. Then once it dries off stamp the accent nail with the image of a horse.

My Little Pony Rainbox Dash Nail Art
Hope you all liked it.

About the author: I am Nicky. Currently taking care of my 3 year old son. In May 2012, I discovered a new hobby of nail stamping. Still trying to learn many new things. You can check out more of my work on my facebook account.         

Thank you so much Nicky for sharing this awesome nail art! Girls please leave your comments for Nicky in the comment section below. Lets tell her what a lovely piece of work this is!


Monday, April 30, 2012

Sponging Nail Art - Soft Pink - tutorial

The only way to decorate my nails was to apply direct nail paint. Then I played a little with mixing two colors in different patterns. Later I advanced to drawing patterns using a brush or toothpicks. More recently I started dabbling with stamping. I had never heard of sponging as a nail art technique until I saw some posts on stylecraze. So I googled and found this interesting tutorial on nail art using sponging

It looked so pretty I thought of trying out something similar. The steps seemed simple so I went ahead. First a look at the finished nails.

Sponge nail art - stamping - the complete look

Now for the steps - I started with a small sponge piece. The sponge was only big enough to cover my thumb. I like having control over the thing I am holding so I made sure it wasn't too big. Next I took white nail paint and put some on the sponge using the nail paint brush.

Then I gently sponged it all over my nails. To cover all fingers of one hand I had to apply nail paint twice to the sponge. The more depth of color you need the more sponging you will have to do. Also if you use a sponge with very fine holes then the look of the paint on your nails will be denser.

Sponge nail art - first coat of white

As you can see in the picture above I did not care about the extra paint going outside my nails. That can be cleaned off later.

Once the white color dryed (which was very quick due to low density of paint) I repeated the process with a pink colored nail paint (lotus cozy mulberry). This time I started sponging a little downwards from the nail bed - this makes the white visible as you can see in the picture below.

Sponge nail art - second coat of pink

 The final step was to use a darker shade of pink (Lakme 9 to 5 ) This was sponged only on the tips of the nails. I used a Q-tip - dipped it in nail polish remover and cleaned the sides of the nails with it.
Sponge nail art - tips


Then I gave the complete nails a layer of top coat. When it dried out I used my stamping kit to stamp on snowflake like flowers to alternate nails starting with the thumb. I finished off by putting random dots using a toothpick. Stamping and dots were done using the same white nail paint that I used for sponging.

Sponge nail art - stamping

A final layer of top coat and I was done.

Sponge nail art - stamping - final look

Sponge nail art - stamping - with flashSponge nail art - stamping - the complete look


 And here is a picture of the sponge piece that I used.

Sponge nail art - the sponge

Nail paints used:
1. Lotus Herbals Color Dew Pure White (81)
2. Lotus Herbals Color Dew Cozy Mulberry (94)
3. Lakme 9 to 5 Lavender lush
4. Top coat - Lakme clear glass

I hope you like the above step by step description for this very easy method. I know a lot of you out there are experts at this technique - please do give suggestions on how to I can improve this next time onwards.

linkwithin