Our External World - Indian Makeup Beauty Fashion Travel
Showing posts with label 10 minute nail art. Show all posts

Sunday, September 21, 2014

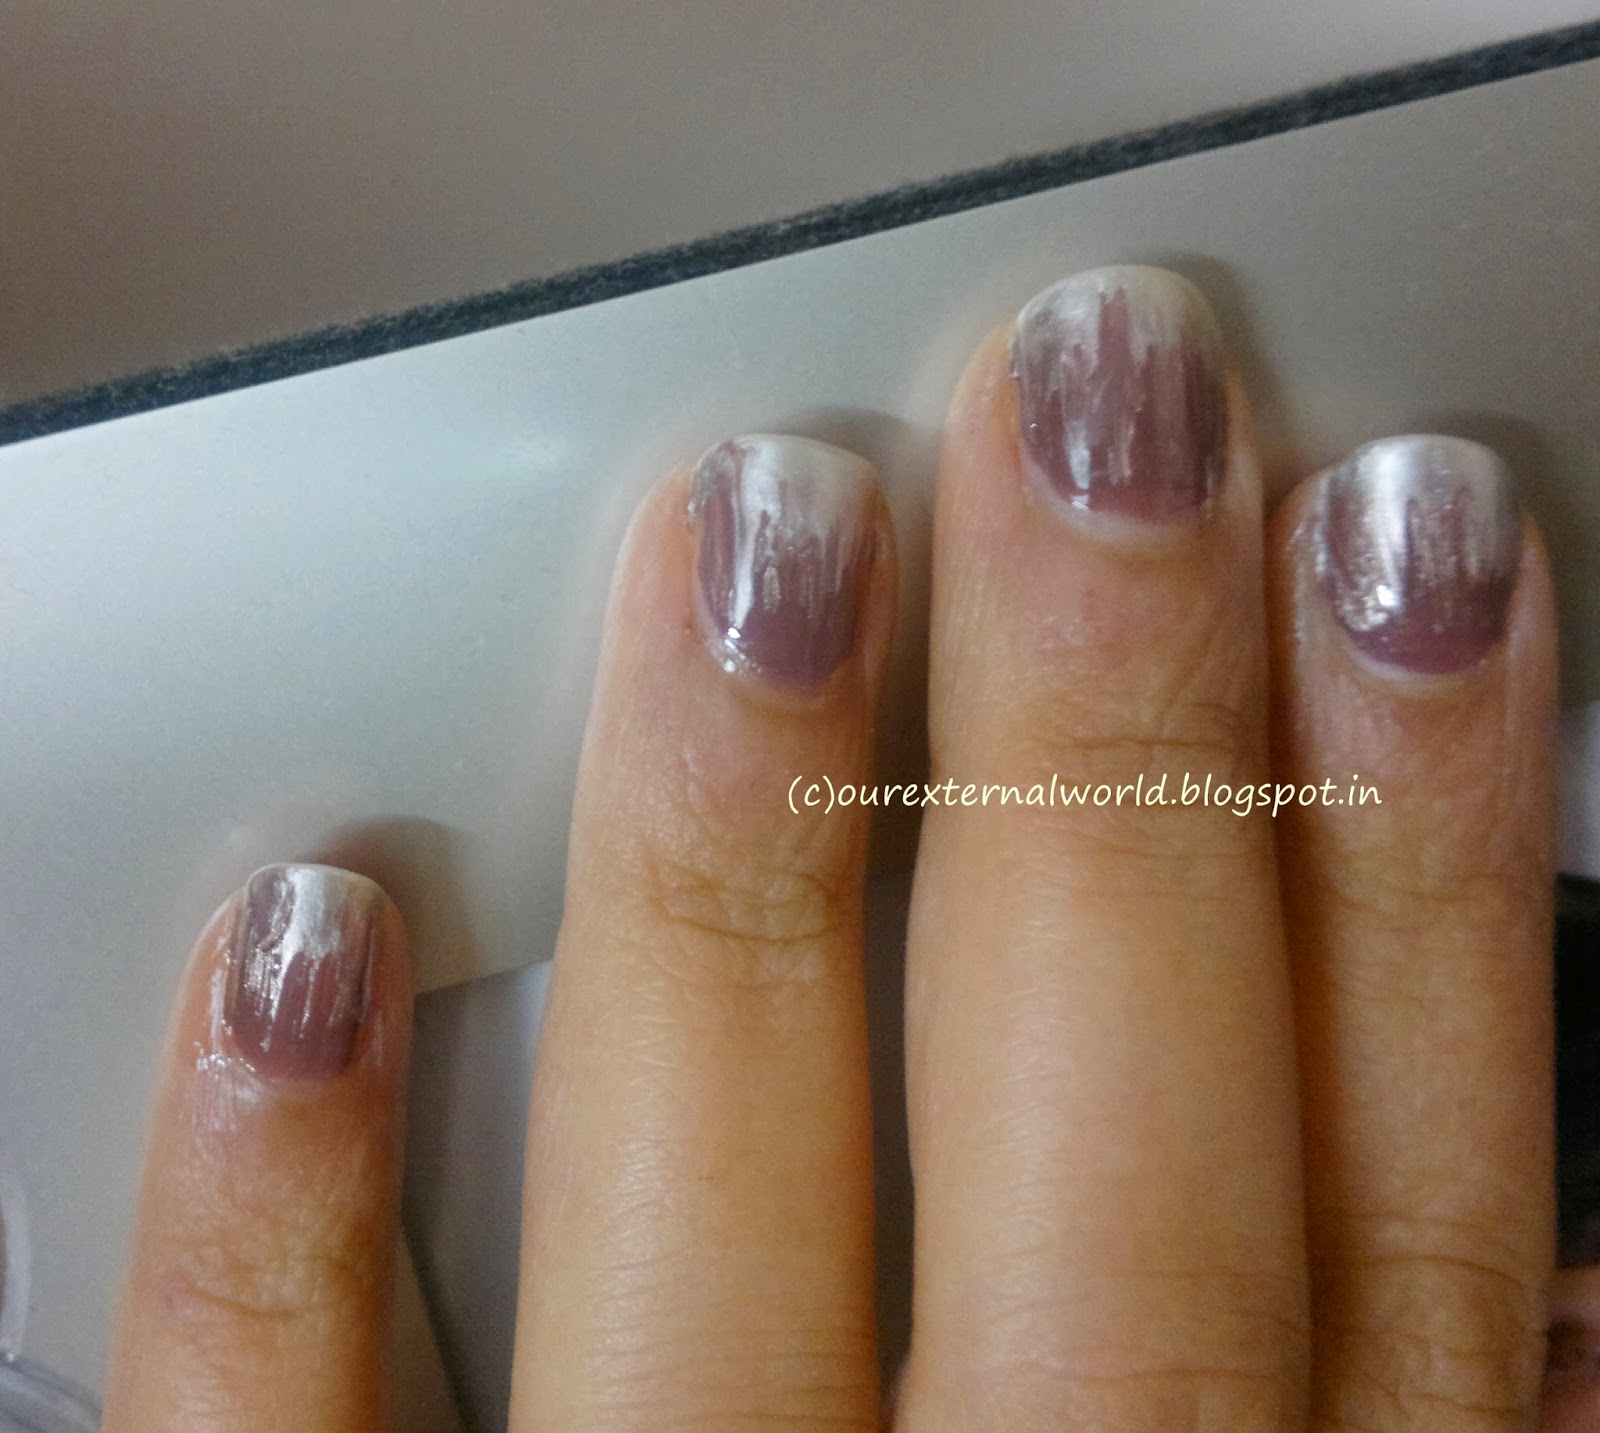
Scaled Gradient Nail Art

For the third challenge of September (in #STNChallenges) the theme is scaled gradient. The concept is to repeat a gradient pattern on your nails. When I read about this theme I thought, wow something nice and simple, I enjoy sponging nail art so this should be fun. Only when I got down to doing this on my tiny nails did I realize it wasn't all that easy!

Scaled Gradient Nail Art

I used Essie Mambo and Sally Hansen So Much Fawn (swatched HERE). The concept of a scaled gradient as I said, is to repeat a gradient pattern on your nails. For this you need to tape off a part of your nail and do sponging (click HERE for details on how to do sponging). Then you let this dry out, cover up the sponged area so that the rest of the nail is now available. And you repeat the sponging on this part of the nail.

Sunday, April 13, 2014

Summer Dress Nail Art

It's an itsy bitsy teenie weenie yellow polka-dot ... You all must have heard this song made famous by Brian Hyland. So this week for the summer challenge theme "summer dress" I created this simple nail art using Maybelline color show lavender and a pale yellow Frankie polish I created (check my Facebook page for details)
I hope you all like it !

Monday, November 18, 2013

Dry Water Marble Nail Art - Easy Nail Art For Beginners

If you remember long back I had shared a post on water marble nail art. If you missed it you can check it out HERE.

Today I am sharing another fun technique for nail art. Its called Dry Water Marble Nail Art.

This is the result of what I did.
Dry Water Marble Nail Art - Easy Nail Art For Beginners
Now to get to the How-To

First lets take a look at what all you need.
1. Any two colored polishes
2. A dotting tool or a toothpick

Monday, July 2, 2012

NOTW 2– Babys Breath on my nails!

Hi everyone, this week’s nails of the week look is simple and very easy to do. My inspiration this week were tiny white flowers called babys breath – these are usually added to bouquets as fillers.


PS: the picture of babys breath has been taken fromwww.flowers.vg (earlier picture was not showing up on some browsers so had to take it down)


I had freshly buffed my nails and they were looking pretty to me so I decided not to cover them completely with nail paint. And keeping my inspiration in mind this is what I did. You can click any picture to enlarge it.
2012-07-01-779
2012-07-01-7772012-07-01-781


First I painted the entire nail with a clear nail polish. Then I took a nail dotting tool (you can use a tooth pick) and dotted the pattern on. This time I took lots of pictures from different angles. As you can see I messed up the little finger but generally this nail art is very very easy to do.

Wednesday, May 9, 2012

Simple rose nail art - with picture tutorial

After my stint with sponging I was waiting to get some time to try out nail painting with toothpick designs. I have been busy lately so finally today when I got 10 minutes free this is what I did

rose nail art

This isn't a very elaborate piece of work - and as I said I finished this in 10 minutes (yes I know its not all that neat but in the time I had this is the best I could manage)

First I will simply describe what I did - just look at the pictures - and at the end I will show you steps pictorially so that it is clear how to do the whole thing. (All pictures can be enlarged when you click on them)

The base of the nail is first covered in Diana of London Jasmine nail paint that I reviewed
here - Diana Of Londone City of Glamour - Jasmine

After that I draw small arcs using Lotus Herbals Color Dew nail enamel in Peach Perfect.
Use a toothpick to make the arcs.

I kept repeating the arcs until the flower was big enough for each nail. And finally I drew some leaves using simple arcs again. For the leaves I used a shimmery nail paint in green - NYC Big Money Front

And that's it - I was done.
And now for the steps - look at the picture I created using paint brush - it gives every step that you need to follow - simple arcs and you are done
simple rose nail art tutorial
Nail paints used:
1.  Diana Of Londone City of Glamour - Jasmine
2. Lotus Herbals Color Dew Peach Perfect
3. NYC Big Money Frost
4. Top coat - Lakme clear glass

I will try this again sometime later when I have a bit more time so that I can do it neatly. But I do hope you like the picture tutorial and can use this sometime. I have small nails but if you have bigger nails you can repeat the flower on your nails and can even try different coloured flowers. I have used the pointed end of the toothpick to pick up the nail color - you can use the flat end to draw thicker petals. You can also do the same piece of art using nail art tools.

I selected this post to be featured on Make Up Blogs. Please visit the site and vote for my blog!

linkwithin