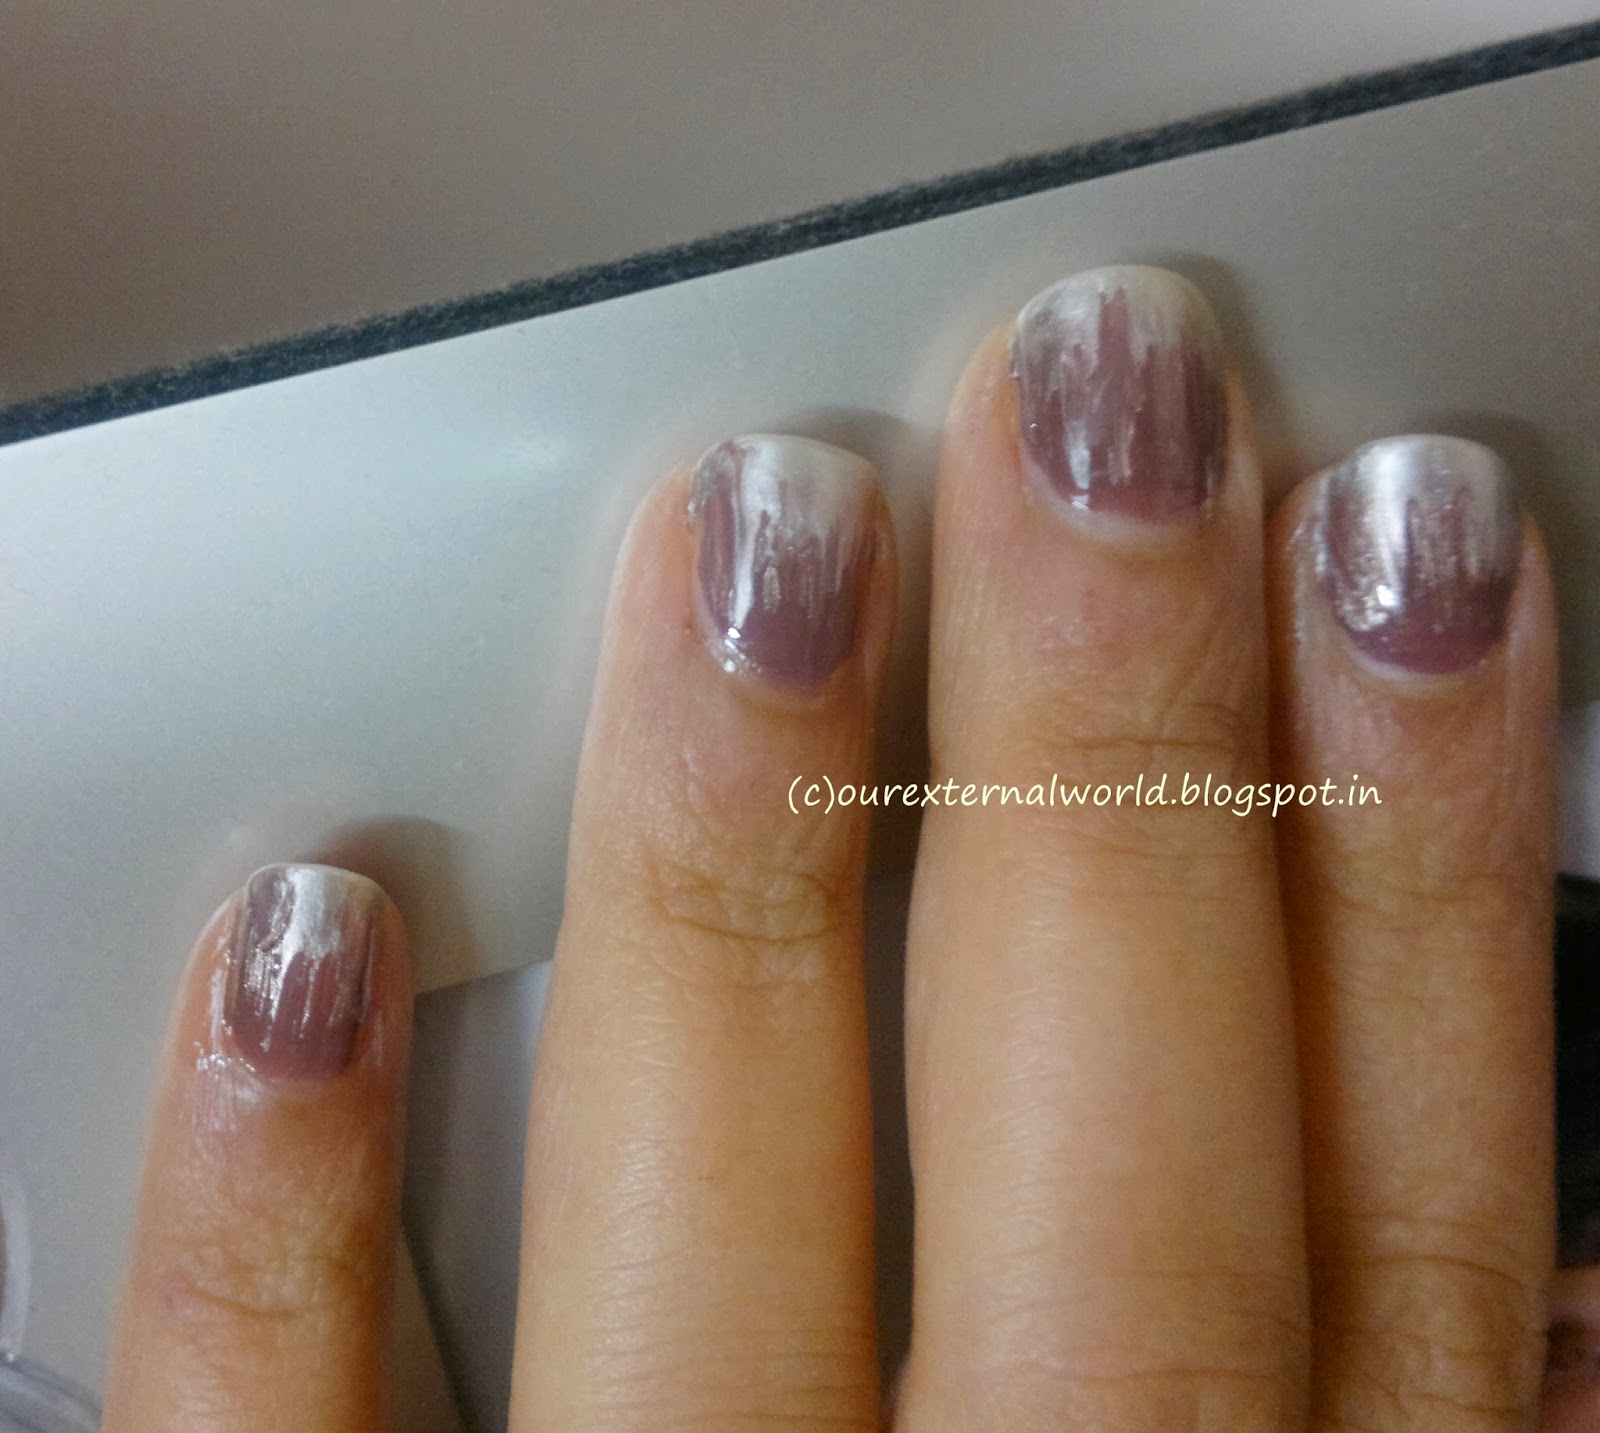
Yes water marbling - can you believe it - a nail art technique using water! When I was browsing through the China Glaze website I saw this tutorial and it looked so awesome I just had to give it a try.
Here is a picture taken from the web showing a neat and clean version of the water marbling nail art.
 |
| Picture courtesy: www.makeuptalk.com
|
So even though my first attempt results are not that awesome I will surely share the step by step tutorial on how to do this sort of nail art.
 |
| Water Marbling - finished result |
What all you will need -
1. A small bowl of water (water should be at room temperature - this is very important)
2. Your favourite nail paints (at least two different colours)
3. A toothpick or some thin stick (preferably wooden)
4. Nail polish remover
5. Ear buds
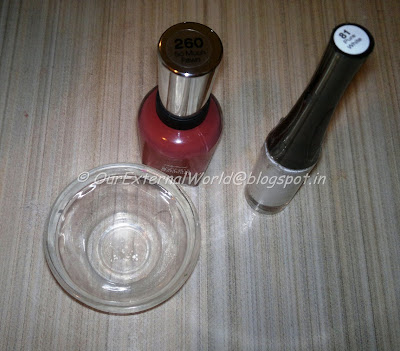 |
| Water Marbling |
So here we go. Start off by putting some water in a bowl. Make sure the water is at room temperature.
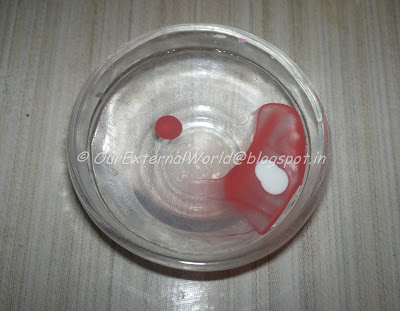
Now take a nail paint, dip the brush in the nail paint and don't wipe off any extra. Put a drop of the nail paint in the centre of the bowl of water. It will slowly start to smear on top of the water.
 |
| Water Marbling - STEP 1 |
Repeat this with the next colour putting the drop in the middle of the existing drop of colour. Keep repeating this till you have concentric circles of different colours. You can create any combination of colours depending upon your imagination. I played it safe with only coral and white nail paint. And as you will notice my design ended up towards one edge of the bowl and was in no way circular!
Nail paint tends to dry fast on the surface of water so think of your design before hand and do the above step very very quickly.
 |
| Water Marbling - STEP 2 |
Nail paint will settle in the form of a light skin on top of the water. Now take the tip of the tooth pick and gently pull the colour in any direction. From the centre towards the edge of the bowl gives a nice pattern.
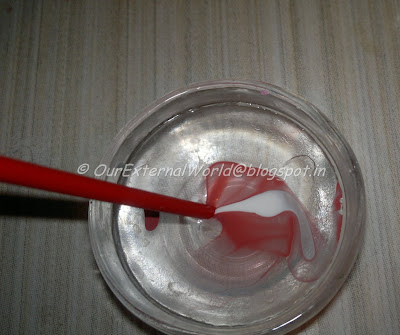 |
| Water Marbling - STEP 3 |
Don't pull too hard or you'll end up with all the nail paint on the toothpick itself. Once you have created some pattern using the toothpick, gently dip your finger (nail side down) onto the surface of water with the nail paint. The skin of the nail paint on the water will stick to your nail and also to your finger. Use the toothpick to steer unwanted nail paint away from your finger. Look in the image how the stretchy surface is seen on the water - that is the nail paint skin trying to stick to my finger nail.
 |
| Water Marbling - STEP 4 |
One nail is done. To repeat on the other nails clear the water and start over. Once you are done with all the nails you will have something looking like the picture below - notice all the extra nail paint on my fingers!
 |
| Water Marbling - almost done! |
Once the nail paint is dry (its almost dry when you take out your finger) take an ear bud dipped in nail polish remover and clean out the mess around your nails. Finally you should have something looking like this:
 |
| Water Marbling - done! |
I am surely going to try this again making a more predictable pattern in water. I did not create concentric circles hence my design is totally asymmetrical.
Hope you enjoyed reading this and will give it a try. It was real fun for me and the finish comes out nice and smooth. With practise better clean designs are very much possible!
style tip: stick cello-tape around your nails and on the fingers before dipping in the water. This way you will prevent the extra nail paint from sticking to your fingers