
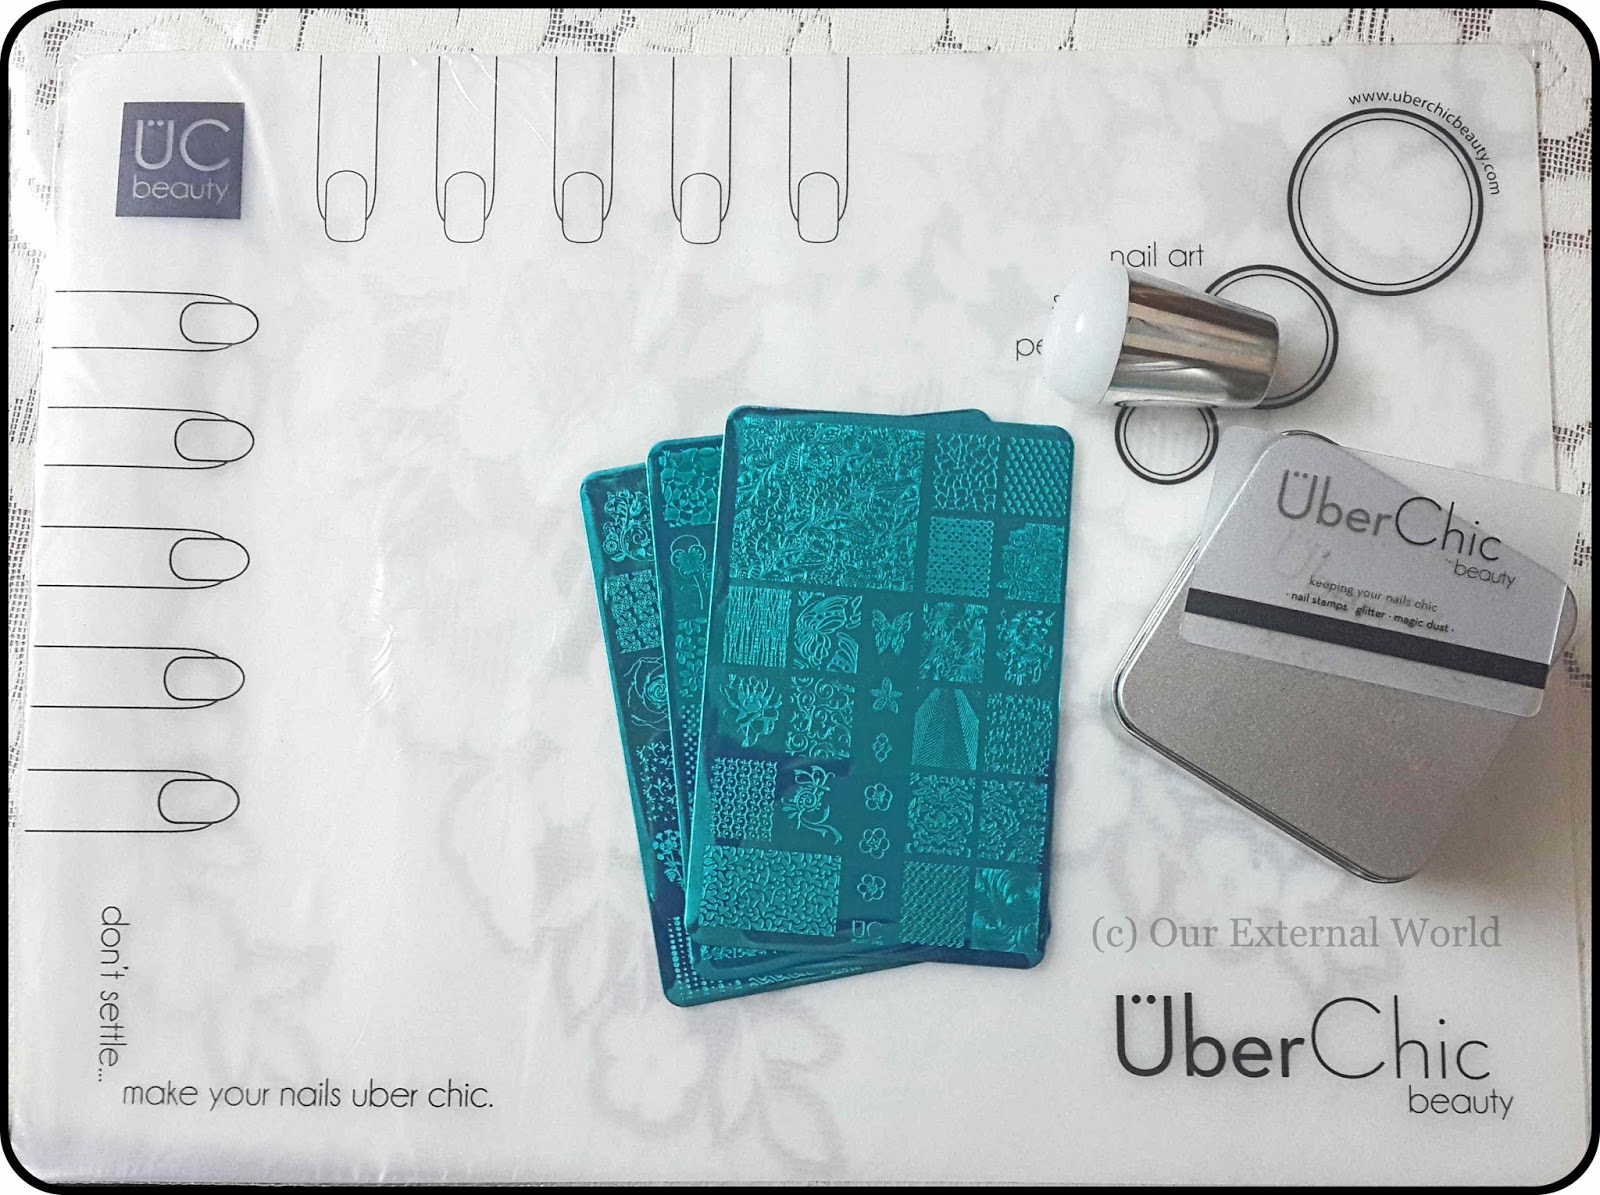
A few days back I received my Uber Mat from Uber Chic Beauty. I did a tutorial on Reverse Stamping Nail Art in March and how I wish this Uber Mat was available at that time!
Let me tell you what the Uber Mat is first. Uber Mat is well a mat BUT its no ordinary mat. This is a specially designed mat for nail art enthusiasts. Uber Mat is a large 16 inch by 12 inch mat made of a silicone type rubbery super flexible material - actually I have no clue what its made of but its is extremely flexible.
I created the below nail art using Uber Chic stamping plates from collection 5 (I will review them soon) and the accent nail has a nail art sticker or reverse stamping decal that I created with my Uber Mat.
Let me tell you what the Uber Mat is first. Uber Mat is well a mat BUT its no ordinary mat. This is a specially designed mat for nail art enthusiasts. Uber Mat is a large 16 inch by 12 inch mat made of a silicone type rubbery super flexible material - actually I have no clue what its made of but its is extremely flexible.
 |
| Uber Mat by Uber Chic Beauty - Create Your Own Nail Decals/Stickers |
The mat has marking for 10 fingers, 5 each of an oval and square nail shape. The mat is meant to ease your life if you are fond of creating stamping decals also called nail stickers. Normal reverse stamping requires one stamper head per nail decal which means either you buy lots of stamper heads OR you work with your Uber Mat - I counted and I believe I can easily fit 50 XL stamper sized decals on this mat.
Now I know a lot of you might think that working with zip lock plastic bags can also serve the same purpose - well it can but hold on till I tell you rest of the uses of this Uber Mat.
1. You can create stamping decals
2. The mat is acetone and polish safe - this means that you can even use it to test out all possible nail art ideas for which you would otherwise require practise wheels.
3. It is large enough to act as a base mat for all your nail art - no more worrying about extra newspapers or other things to protect your table or work surface.
4. The surface is smooth and the mat is non slippery, plus it won't fly away like your normal zip lock bags
5. You can fold it and store it away
6. It can easily be cleaned with a regular polish remover or acetone (I have used pure acetone and it worked fine)
7. This is the most important - I personally struggle with removing my decal from the stamper in a single piece - but the flexibility of the Uber Mat comes in handy here - I simply bend the mat under the decal and it simply lifts off (check the image in my nail decal picture)
8. The Uber Mat has predefined nail images that act as guides - when you are creating your decal you can see how you want to place the final image over your nail. If you have tiny nails like mine you can also mark your own nail over the mat as a guideline for the decal. This is very useful for people who have tiny nails like mine - it helps you see how the decal would look like on your nail.
I am sure if you use it once all other methods of creating decals are going to seem worthless.
It is priced at $14.99 and is available at http://uberchicbeauty.com/


