Our External World - Indian Makeup Beauty Fashion Travel
Showing posts with label ILLchallenge. Show all posts

Thursday, February 5, 2015

Blobbicure Nail Art - Pebbled Path & Valentine Hearts

Hi friends, I am again participating in a nail art challenge and this one is based on different nail art techniques. The challenge is called Nail That Technique and is being done by our facebook group Indian Lacquer Lovers (details at the end).

The first theme for the challenge that runs through February 2015 is called Blobbicure.

I have never tried blobbicure before so after rummaging google to find out what is this technique all about here I present my own blobbicure and some tips on how to do a blobbicure.

Blobbicure is a technique where you apply a base colour and while it is still wet you drop blobs of another color onto it. Since the base is still wet the blobs spread out taking weird shapes and sizes giving you really fun patterns.

Now this sounds very simple right? Wrong! In order to get the blobs to look decent and not just randomly thrown about messed up gloopy blobs you need to keep the following in mind.

First do one coat of the base color on all nails. Let it dry completely. Now follow the steps one nail at a time. Remember don't try and do this on all nails at the same time as you won't get a good result (unless you are a nail art bond who can work at uknown speeds!)

1. Apply a coat of the base color
2. Quickly apply drops of the second color on the nail.
3. Do not touch the polish brush on the nail - the idea is to 'drop' a color but the drop has to be done from very close to the nail bed. 
4. Do not use polishes that are too thick - if your base color is too thick then you can use it to get more circular blobs. But if you want to play with the pattern use a base that is not thick (and not runny)

Now coming to what I did. I had this amazing idea of doing a pebbled path sort of thing on all my nails with the accent nail having some floral pattern. I think it was a far fetched idea knowing that I was trying this technique for the very first time.
Blobbicure Nail Art - Pebbled Path, how to blobbicure, what is blobbicure
Blobbicure Nail Art - Pebbled Path

I do hope the above gives some semblance to what I had in mind (now that I've told you what I was trying to achieve :D ) The entire pattern is done using blobbicure. As you can see my blobs are not even sized or shaped and the thumb has a party going on. Hopefully I will improve with practice.

Polishes used: El Corazon Charm And Beauty No 891, Envy Polish Black Onyx, Faces Canada Tinted Red.

I did try doing blobbicure over a thick polish with glitters in it. This time I wanted to do some heart shaped blobs keeping in mind that Valentine's Day is just around the corner. I applied the pale lavender base and let it dry. Then I literally 'blobbed' the glitter polish on the entire nail (you can see in the pic). While this was still very wet I applied the blobs to create the heart shape. I kept the blobs tiny (and the thick base helps with getting smaller blobs) and while placing the blob instead of picking up the polish brush straight up, I would drag it just a bit to create the tip of the heart. Two dots placed close by where you do this will help you create the heart shape. I really wish I could capture videos so I'd have to talk less on what I'm trying to say! Here take a look.

Thursday, October 16, 2014

Glitz & Glam Diwali Nail Art With El Corazon Confetti No517

STN Challenge / ILL Challenge second theme for nail art is Glam n Glitz - Diwali is all about light and sparkles so I chose  a gorgeous glittery polish from El Corazon. 

El Corazon Confetti No 517 is rusty maroon with bronze, gold and very fine silver glitter. The silver doesn't look silver on the nails but when you remove the polish you will notice that there are silver glitter in the polish. Confetti no 517 has a jelly like finish and looks so pretty in person. Trust me the pictures do not do justice to the actual beauty of this polish. Once my nails grow longer I will re-swatch this lovely polish and post on instagram. You see I still have fading henna on my hands which will also take a few weeks to go away completely.

Glitz & Glam Diwali Nail Art With El Corazon Confetti No517 swatch
Glitz & Glam Diwali Nail Art With El Corazon Confetti No517

Confetti No 517 is perfect for the Indian festival season. If you have a wedding coming up you must get this in your kitty (or you can try and win this and other polishes from El Corazon in my giveaway HERE)

Sunday, October 12, 2014

Dell Venue 7 and My Karva Chauth Henna & Nail Art

Yesterday was Karva Chauth, a festival celebrated by Indian women to pray for the longevity of their husband. They wake up early morning, pray to God and start a 'Nirjal' fast for the whole day - no food and most importantly no water for the whole day. They open their fast after looking at the moon through a sieve. The whole day is spent adorning hands and feet with henna, dressing up and keeping one self busy so that the thirsty dry throat becomes a non-issue.

I was supposed to do a Karva Chauth special nail art yesterday. But I was superly busy applying henna to my hands and was pretty low on energy and hence skipped doing something too intricate for my nails.

But what I did do was use my Dell Venue 7 tablet to click pictures. I know I have raved and ranted about the fact that I don't like the camera on the tablet. But since I was up early it meant I had all the sunlight I wanted to use the camera of the tablet. So I used it for clicking my henna and my final nails. I also edited the pictures on the tablet.

First let me show you my henna (if you follow me on instagram and facebook you must have already seen these)

Dell Venue 7 and My Karva Chauth Henna & Nail Art

The back of the hand has same pattern for which I shared a step by step tutorial (HERE) a couple of days back.

Wednesday, August 13, 2014

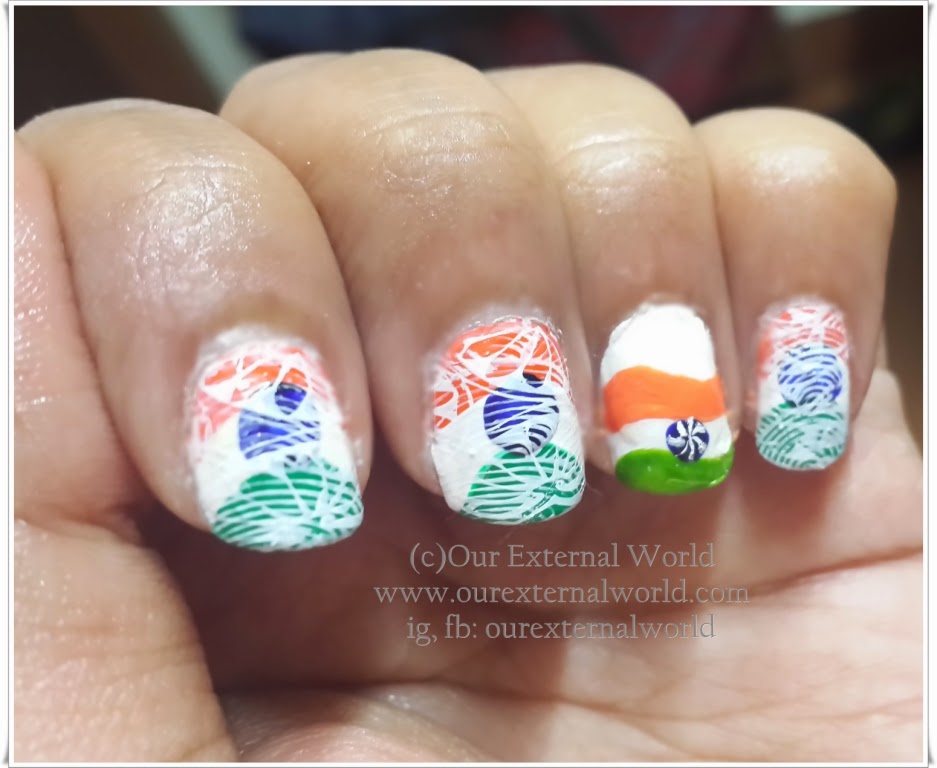
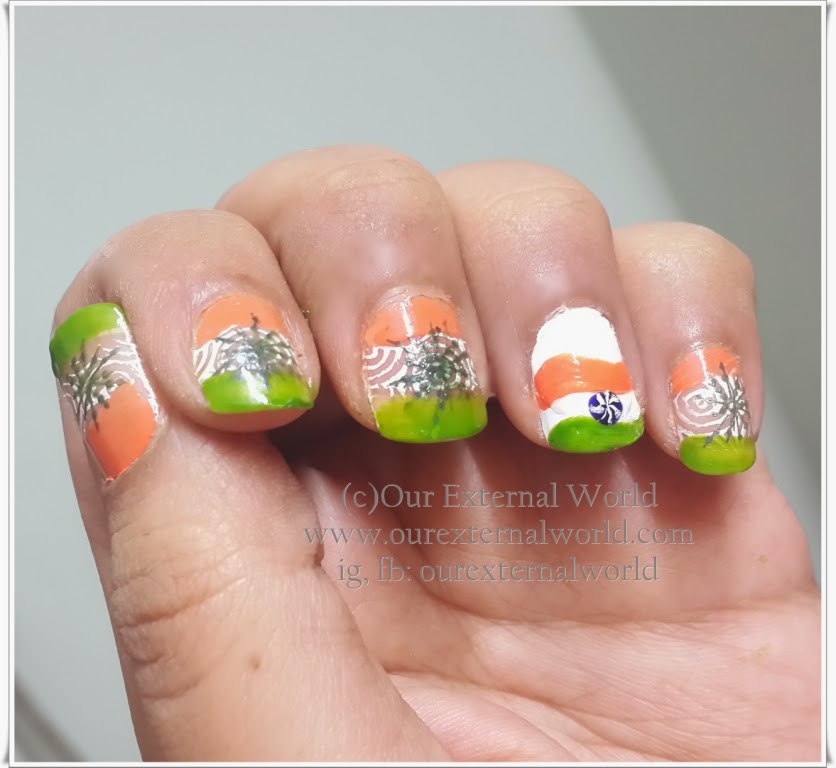
Independence Day Nail Art - Let The Tri-Color Inspire You

15th August is the Indian Independence Day. To celebrate this day in our own little way me and my nail art buddies decided to do nail art using the tri-color theme.

I had these wonderful ideas in my head but am not too impressed with the final results. I am still going ahead to share it with you - no shame in sharing - I think these would have come out much better had I been a bit patient.

Independence Day Nail Art - Let The Tri-Color Inspire You

Anyhow, I do hope you like the idea behind these nails. I actually did two different versions. Both these are multiple stamping over free hand. I have one more idea in my head using a very different technique. I hope I am able to do that before 15th August, 2014.

Independence Day Nail Art - Let The Tri-Color Inspire You

Happy Independence Day everyone. Let this day bring you independence in your thoughts, don't be a slave of superstitions or ideas that have been fed into your head without any logic or sense. Live to breathe freely, think freely and love freely!


Follow Me On instagram | facebook | pinterest

Monday, June 30, 2014

InspiratioNailJune - Inspired By Household Items + Glitter Jelly Sandwich Nail Art

Hi everyone, here is another quick nail art I did for the recent #ILLChallenge of glitter sandwich nail art and for #STNChallenge InspiratioNailJune challenge of inspired by a household item. Now the household item I picked (in a hurry) is actually a plastic bracelet which has this jelly like look to it - little plastic scraps inside a transparent plastic. I did do a proper 'household' nail art too but did not have enough pictures to share (one picture is there right at the end of this post!)

InspiratioNailJune - Inspired By Household Items + Glitter Jelly Sandwich Nail Art

InspiratioNailJune - Inspired By Household Items + Glitter Jelly Sandwich Nail Art

Glitter Sandwish Nail Art
For newbies like me, glitter sandwich is basically a technique where you take a polish that is translucent, apply one layer of that polish. Once it dries you apply a glitter polish. And then you top everything with another layer of your translucent polish.

I used a polish from Etude (i'm not sure if this actually belongs to Etude or is simply a dupe - check for a post on instagram to see the polish pic) and the glitter polish is from LA Splash (will do a full post soon)

InspiratioNailJune - Inspired By Household Items + Glitter Jelly Sandwich Nail Art

On my accent nail I actually did a sandwich of the polish, a layer of acrylic paint pattern, another layer of polish and another layer of some acrylic paint - this was to get the multi-depth effect of the bracelet I have in my hand.

Tuesday, June 3, 2014

Letters To Juliet - Movie Inspired Nail Art - Water Marble Nails

Hi friends, how is everyone out there? I am doing good but tired of the hot humid weather (and this is just the start of summers!) Today I'm sharing with you a nail art I did for the STNChallenges Inspirational June, head over to my facebook page to find out more about the challenge. The first theme for the month of June is movie/book inspired nails. Also I am part of ILLChallenge and the theme this week was water marble nails - so as always I clubbed them both together!

My first and only movie inspired nails were based on The Devil Wears Prada (head over HERE to see what I had done). But I have always wanted to do something based on the movie Letters To Juliet. I found the movie so refreshing, the locations were picturesque and it had songs just like our bollywood movies. Its a very girly movie so if you like them do watch it. (Oh and I loved the hair styles that Amanda Seyfried had throughout the movie).

Letters To Juliet - Movie Inspired Nail Art - Water Marble Nails


Letters To Juliet - Movie Inspired Nail Art - Water Marble Nails

I have tried to depict the letters in the movie and the romance that it portrays. 

Tuesday, April 1, 2014

Welcome Back Summers - Chevron And Lines Nail Art Tutorial

Today I'm sharing a nail art which I've done to welcome summers as part of the STNChallenge. This nail art is also part of my Illchallenge where the theme is chevron and lines. Yes here I go again trying to do two things in one go.

Welcome Back Summers - Chevron And Lines Nail Art
Please excuse my super dry cuticles - they aren't dry in person but don't know why they look like this in the pictures :(

I've chosen lovely pink colors because summers are the time when all my lovely pink dresses come out of the closet. The base is Diana of London Nail Paint shade City Glamor (check the link for proper swatches), then I used China Glaze Fifth Avenue for the inner chevron and Lakme Lavender Lush for the outer chevron and ring finger. Flowers are done using Lavender Lush and everything white and green is acrylics.
Welcome Back Summers - Chevron And Lines Nail Art

And to add to the summer feel I've added tiny flowers on two nails. This time I've done a tutorial as well so I hope you all enjoy it.

Monday, October 28, 2013

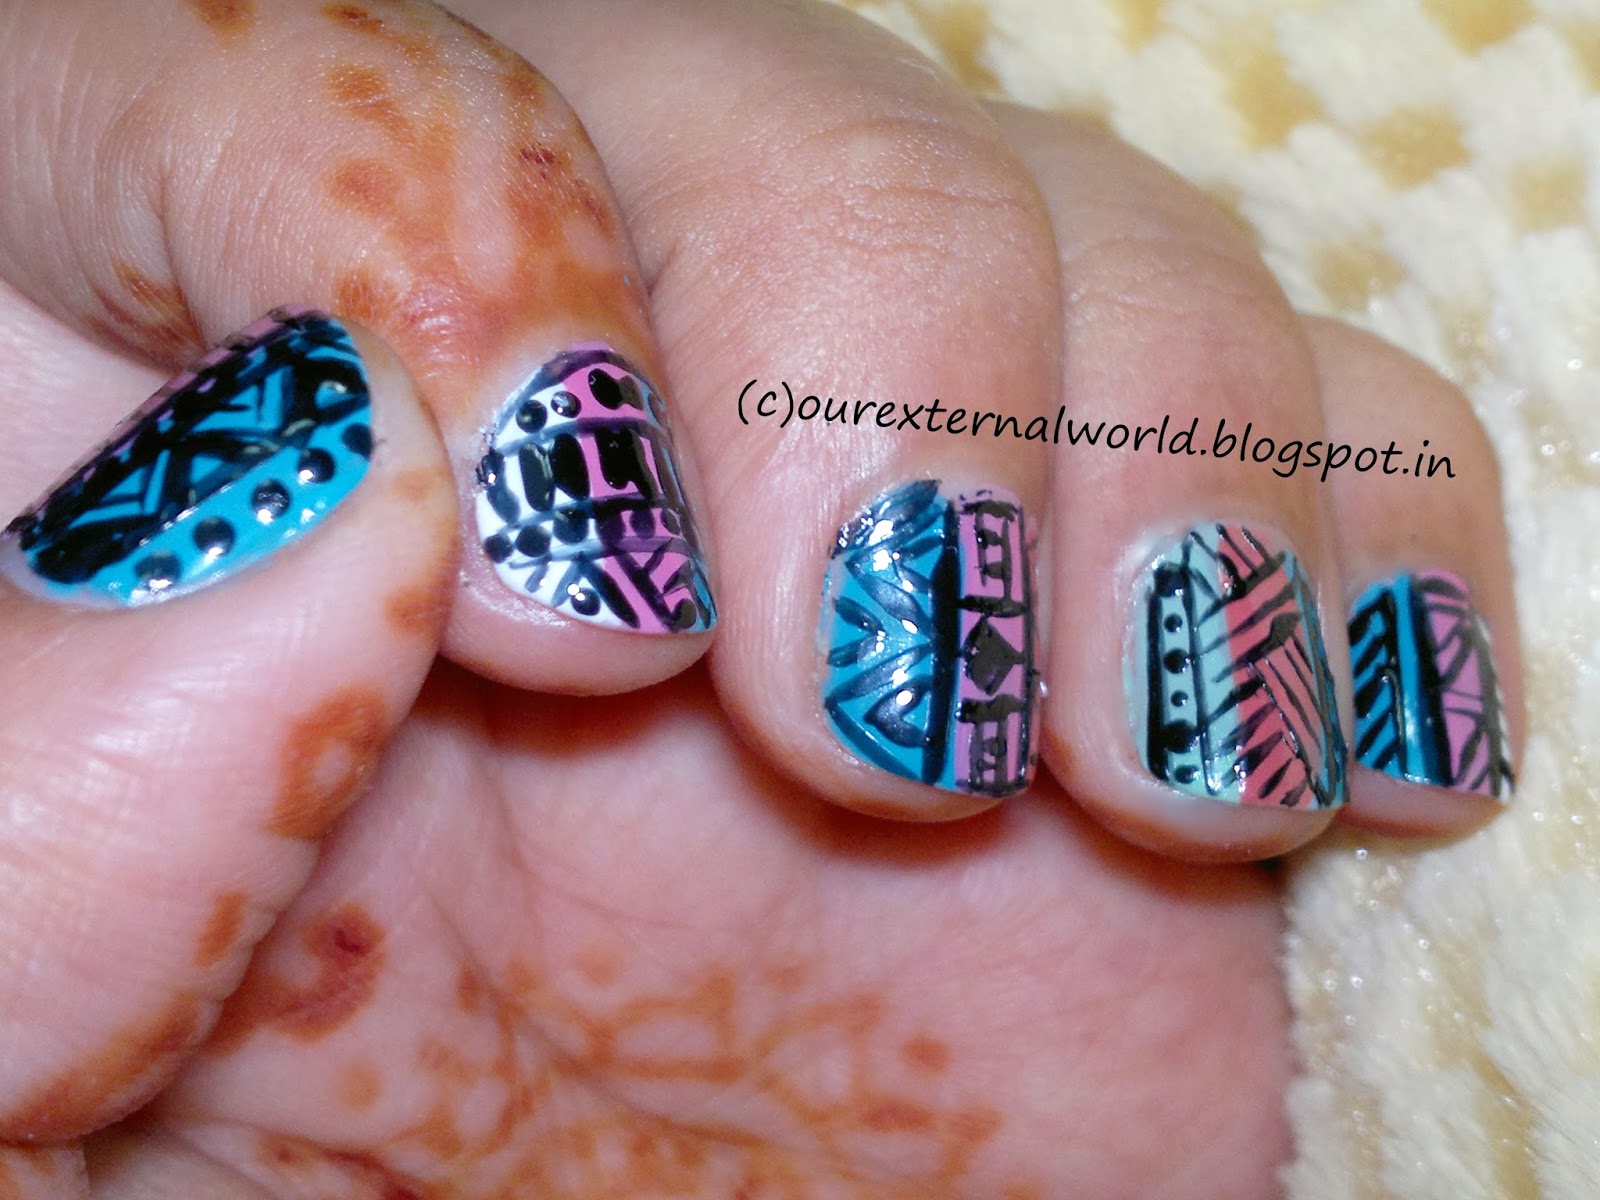
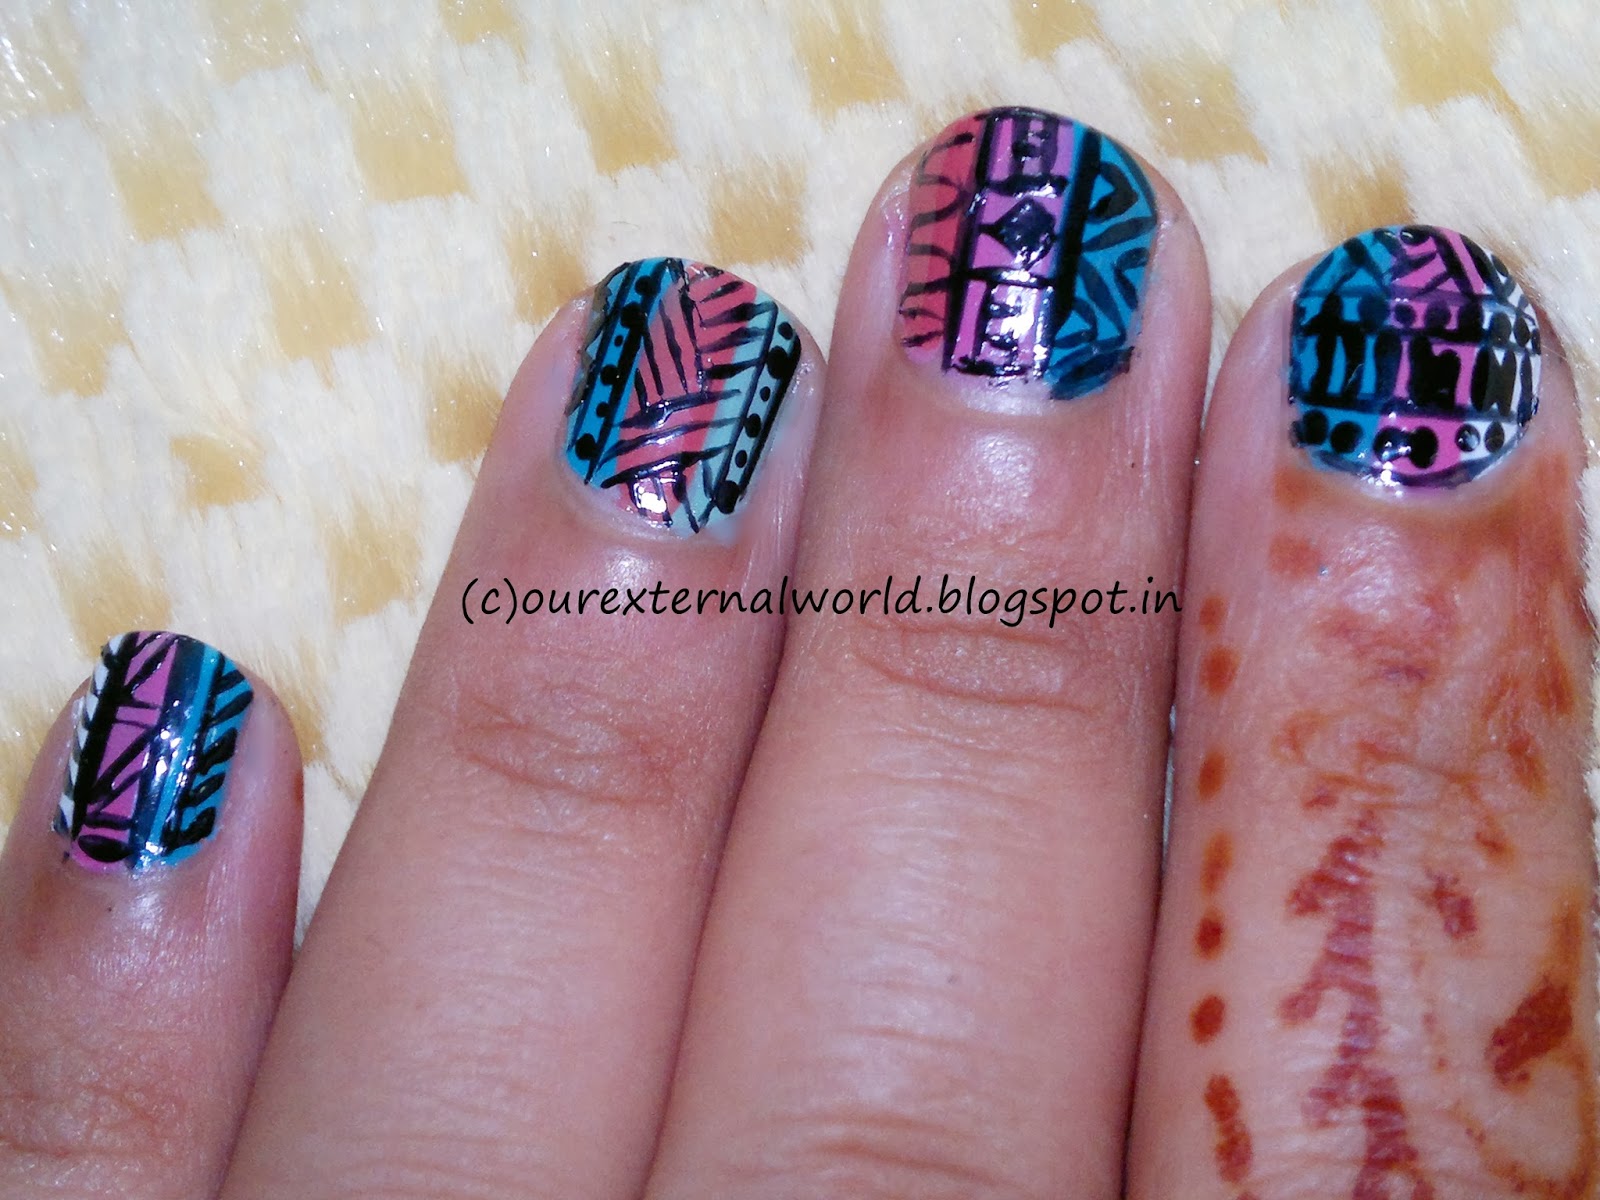
Colorful Tribal Nail Art

Its Monday again and this week's theme for the ILL Challenge is Tribal Nail Art. When I think tribal bold colors with lots of black detailing comes to my mind. I decided to go all out and test my patience this time around. And tada!!!!!!
Colorful Tribal Nail Art
For the base I primarily 3 colors, blue, pink and white. One one nail I replaced white with yellow and on the accent nail I replaced white with mint green. The polishes I used are mainly from Elle 18 nail pops.

Colorful Tribal Nail Art

Monday, September 23, 2013

Polka Dot Mani - ILLChallenge Week1

I am participating in a weekly nail art challenge in which this week's theme is polka dots. Polka dots are so much fun and a huge rage in the fashion world as well (though this year the dots were transformed into tiny hearts!)


So for my polka dot mani I tried doing a French Polka Dot Mani with a twist - you can see the picture to know what I mean.

linkwithin